Recently I was lucky enough to visit the bookbinders that have been making my new ‘Adventures in Yarn’ ring binder. It gave me a new appreciation for the skilled expertise that goes into making each individual item. Each one is made from scratch by hand using a seemingly simple combination of fabric, cardboard and glue, plus a vast array of knowledge, skills and experience!
I’d somehow imagined the ring binders being produced in a spacious, noisy, factory-like space, with lots of machinery supporting different parts of the process. Instead I found a cosy space where local radio was interspersed with chatting, phone calls about recent football performances (not us!) and an occasional clatter of a machine as different tasks were carried out.
Rachel was my awesome assistant throughout this process – she patiently put up with my many ‘new to bookbinding’ questions and helped to interpret the vision I had for the folders, during each stage of the process.
So now I’d love to share with you more about each of the steps involved in creating one of these beautiful folders.
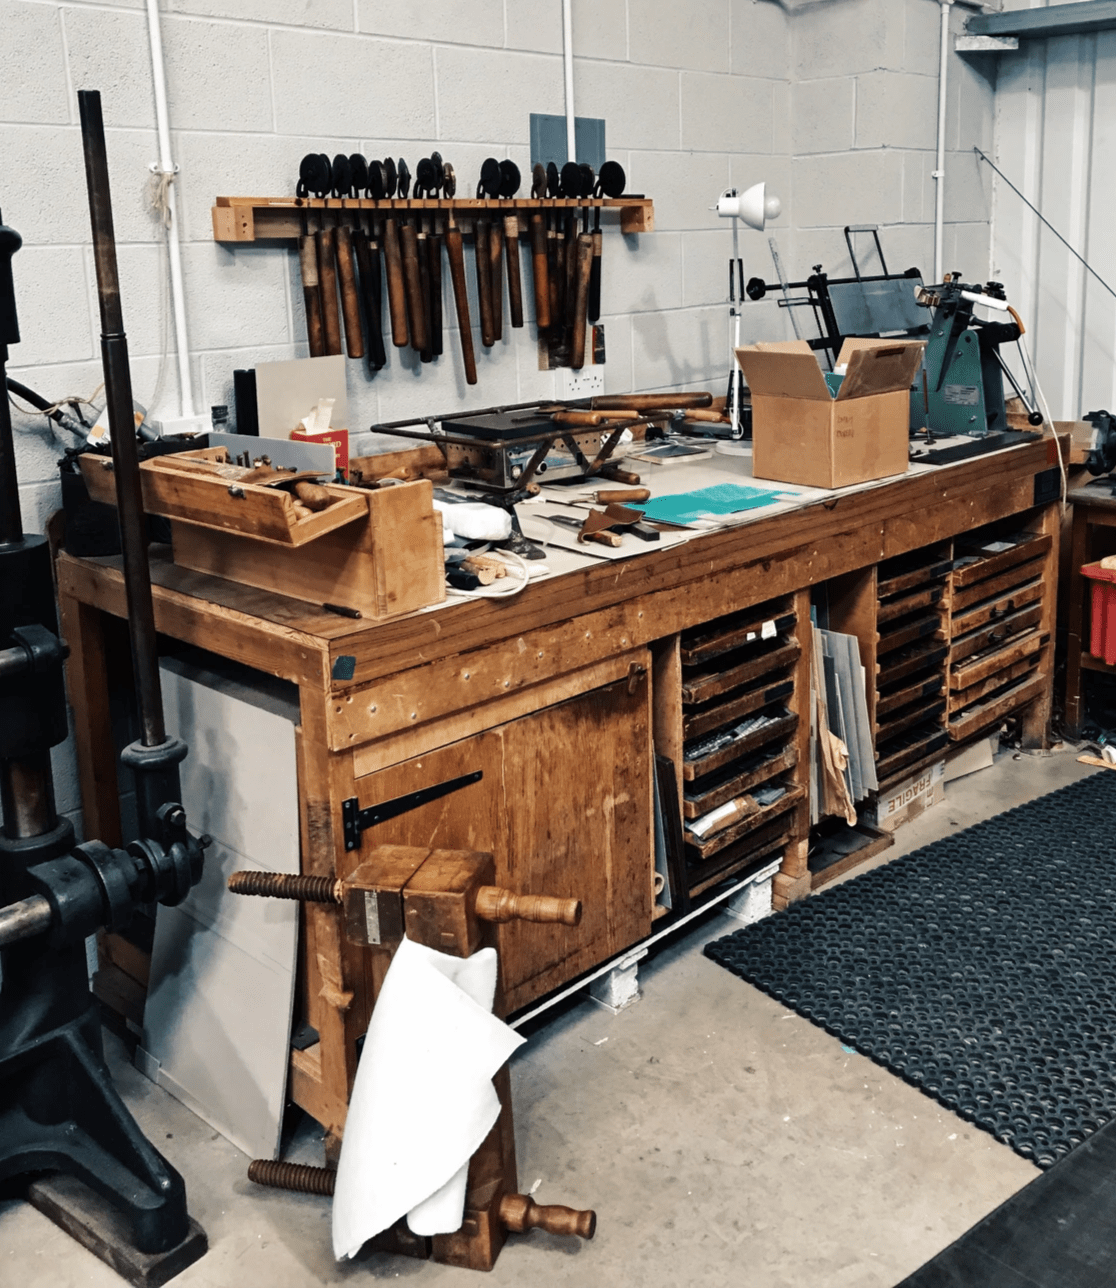
Starting with the folder structure
Firstly, templates were used to create the correct size and location of the front, back and folder spine. I was keen to create something pleasingly tactile to hold, so one of my specifications was that I didn’t want sharp, angular corners. After reviewing a few samples of differently angled corners, I’d settled on a gently rounded corner, so corners were accordingly notched off and filed to create the perfect shape.
Fabric was cut to the size required to cover the exterior of the folder, before glue was applied by hand using a roller – this helps ensure there’s an even coverage, and nothing is missed or applied excessively. There was what looked like a vintage machine that is used when there is a large volume of gluing required. Having seen a demonstration of how this works it seemed far from a speedy or efficient alternative if I’m honest! It’s certainly not the machine automated ‘click of a button’ solution I’d expected!
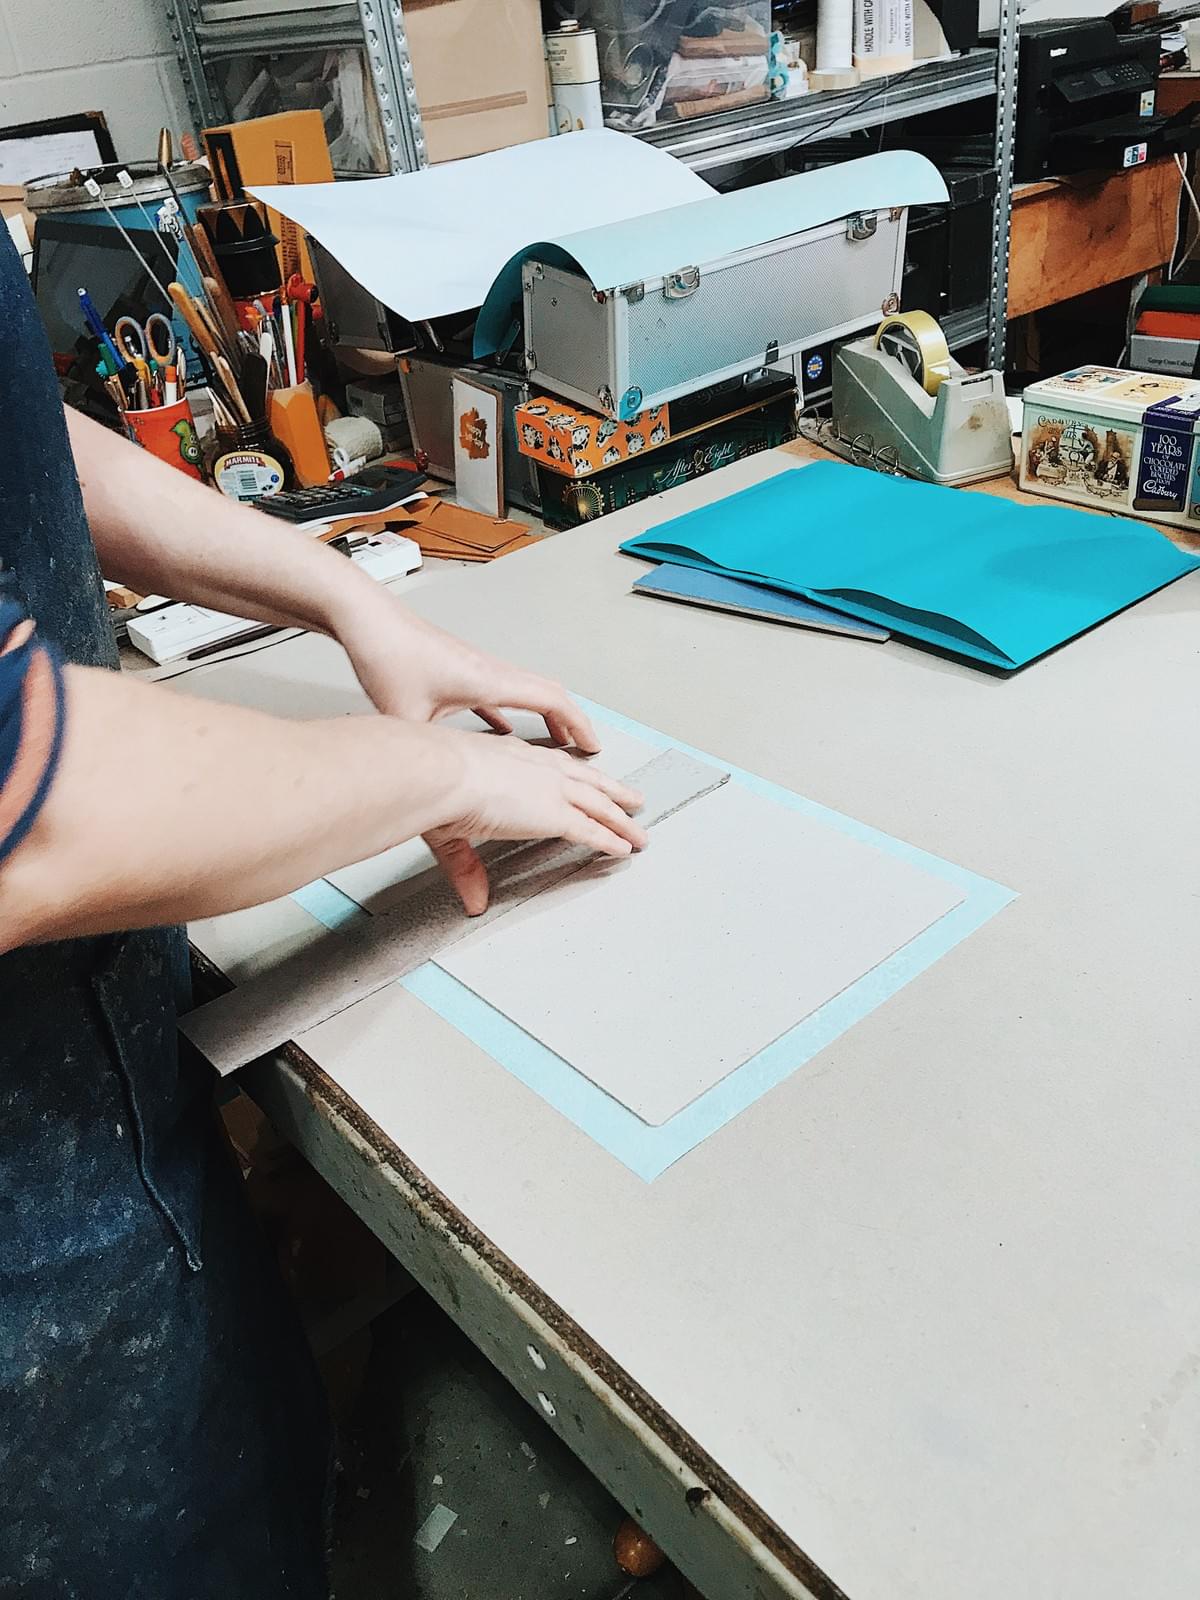
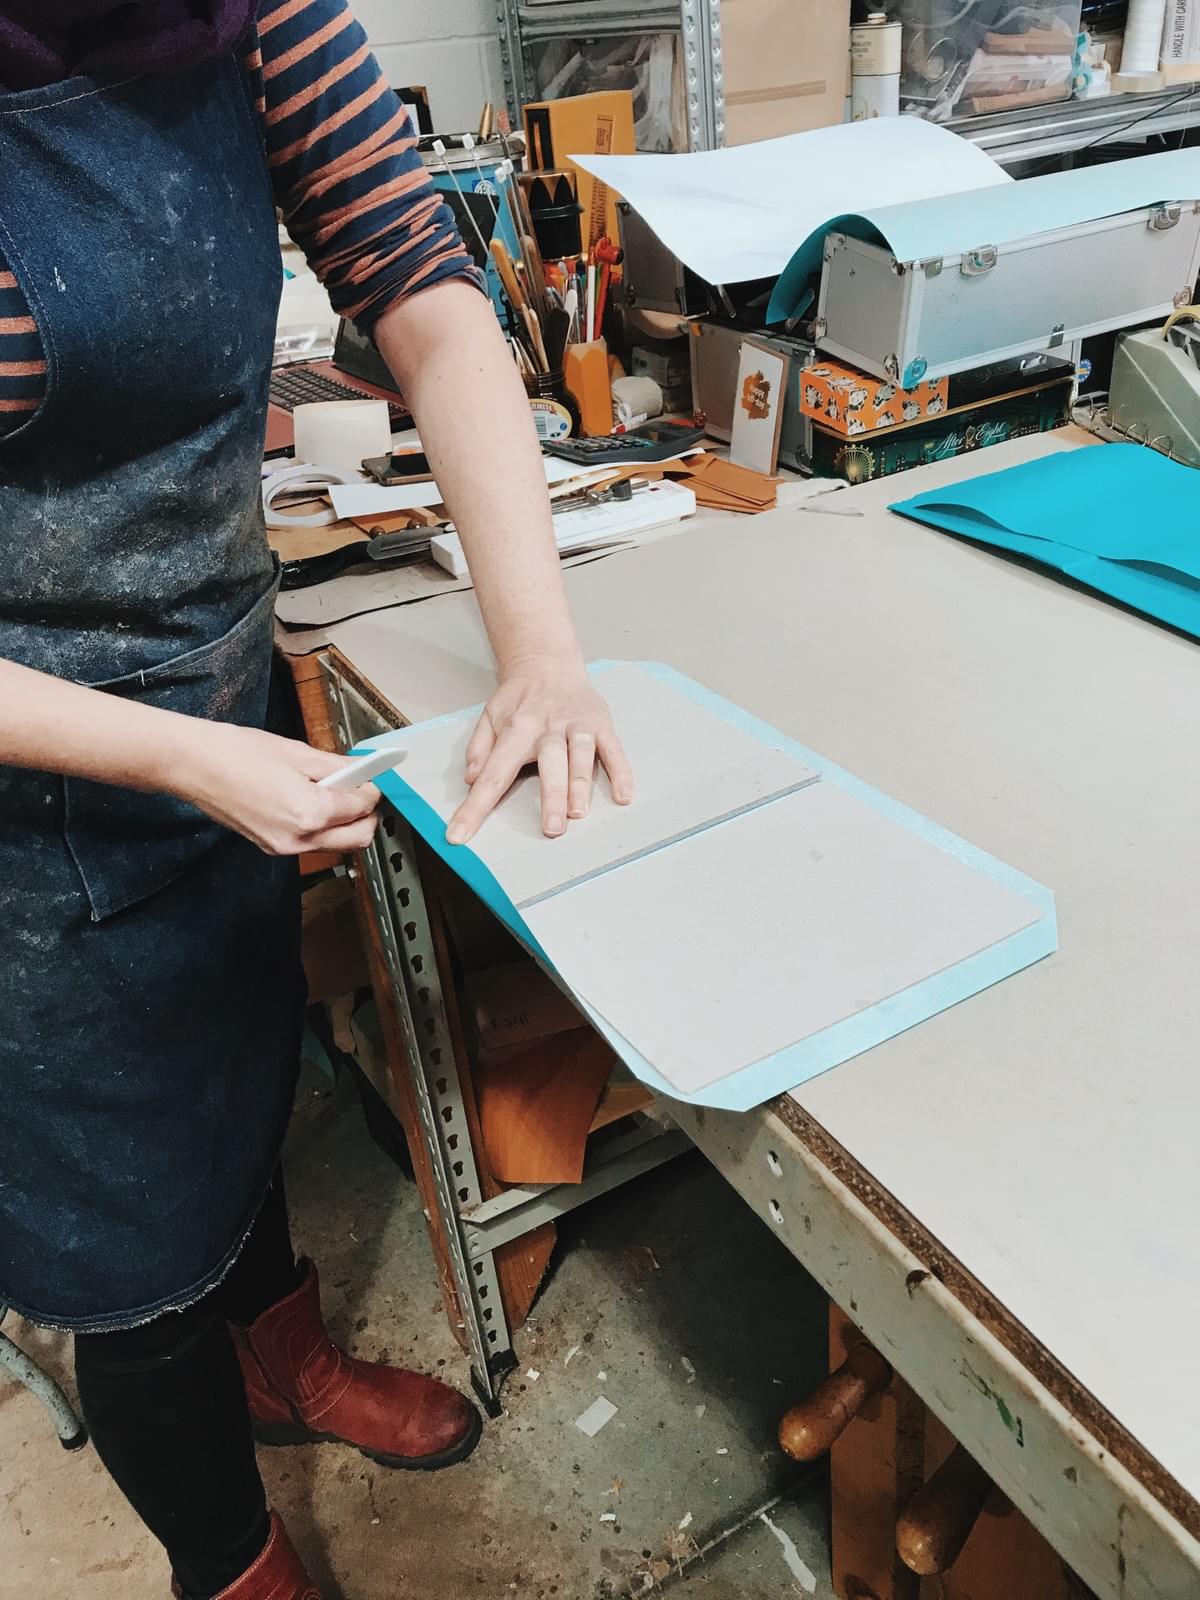
Then cardboard front and back covers were placed carefully onto the gluey fabric, followed by the spine. Excess fabric was cut off in a triangle on the corners, before fabric was expertly manoeuvred and manipulated around the corners to create a neat fit.
An awl was used to work and smooth the corner fabric into a neat gathered finish. The final glued layer of fabric forming the inside of the folder was laid on top of this and smoothed down into position.
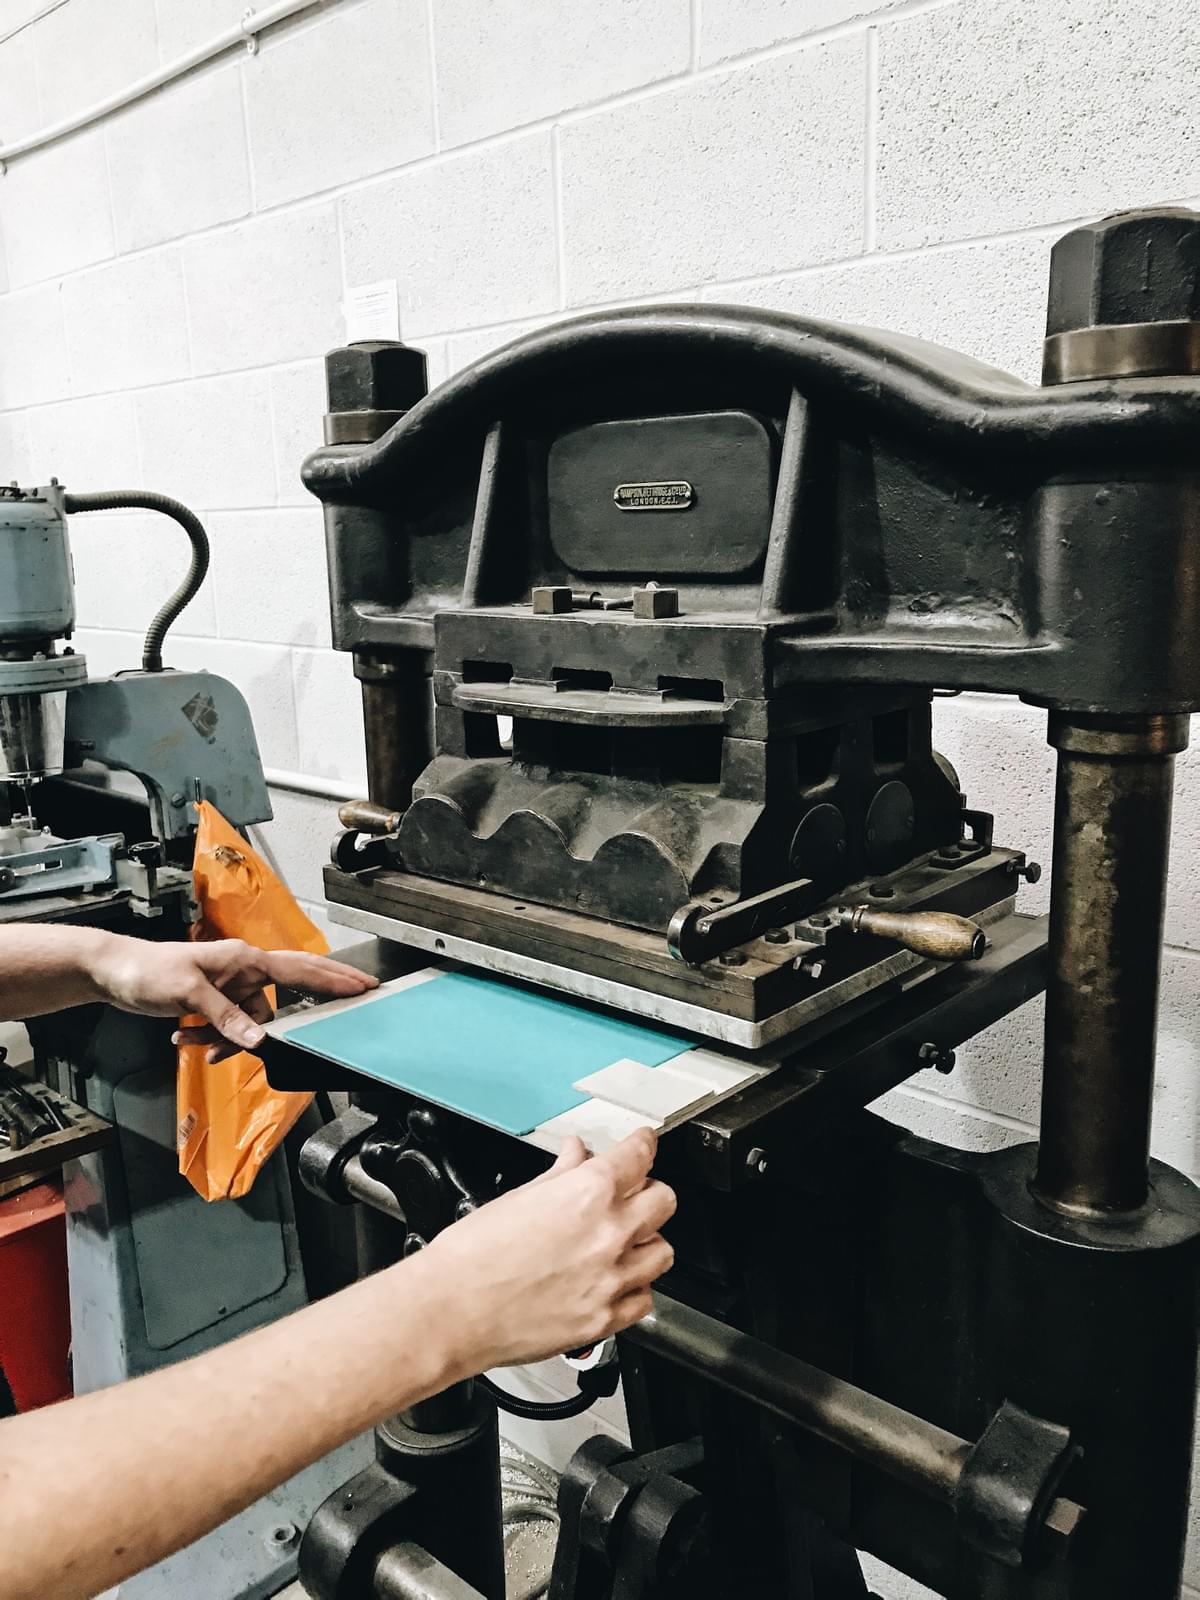
This was compacted into shape into what I guess was an antique pressing machine. This created the blank fabric folder, ready for the design to be applied.
Applying decoration
I knew from a number of previous conversations during design and practice stages that despite machines being used at this stage of the process, there was a lot of experimentation and judgement required. Rachel and I had exchanged samples and photos of the different effects that could be created as the designs were applied to the front, back and spine so I was really excited to see how the finished version looked.
As an input to the folder production, I’d used an Essex based business to create a hot foil block made of magnesium. It was quite a work of art in its own right (I really like stamping equipment) and was ever so light – like holding aluminium.
The blocking machine had been warming up for a few hours before we arrived, with the (now hot) foil block already in place on the top plate of the machine, secured with scrap material and glue.
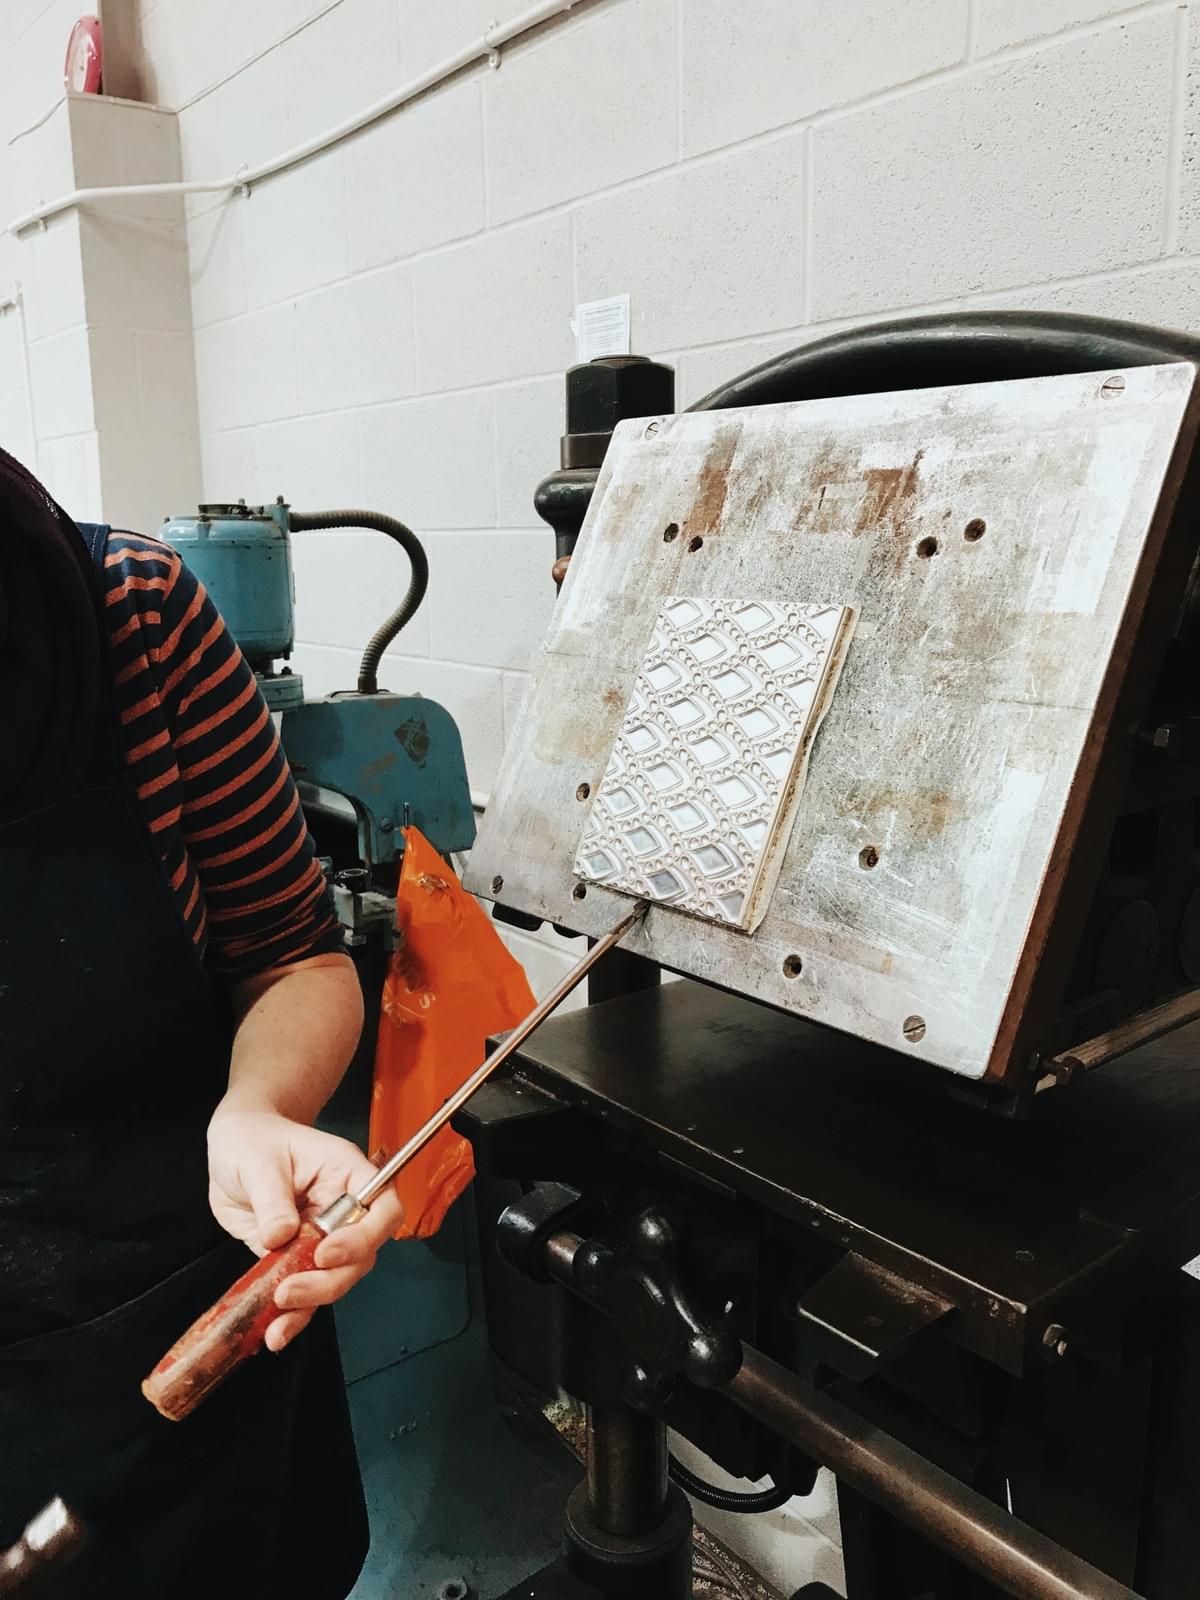
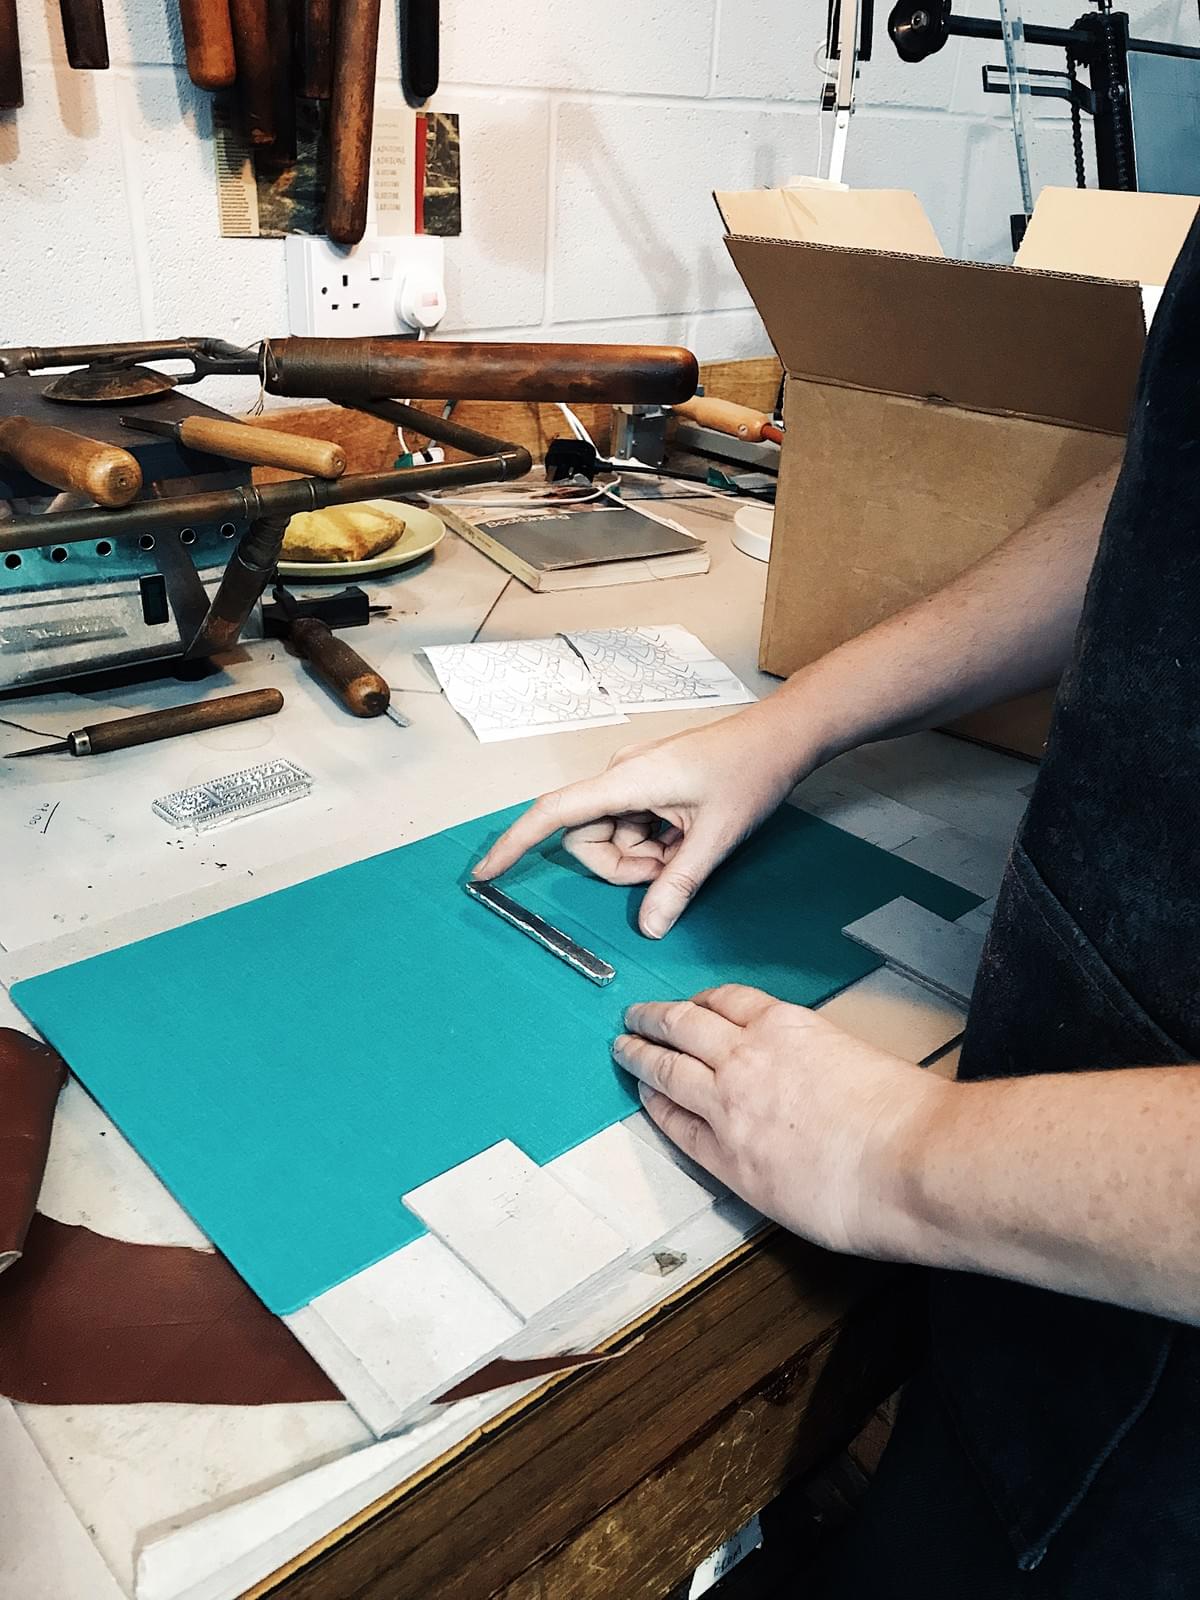
A sheet of white paper was positioned on the front cover of the folder, where the pattern and font appears.
Using lever and strong arms, the hot foil machine was pressed down firmly and quickly to stamp and fix the white pattern from the block onto the fabric of the folder. This same process was then repeated for the ‘Adventures in Yarn’ font that appears on the spine and for the logo on the reverse.
Finishing touches
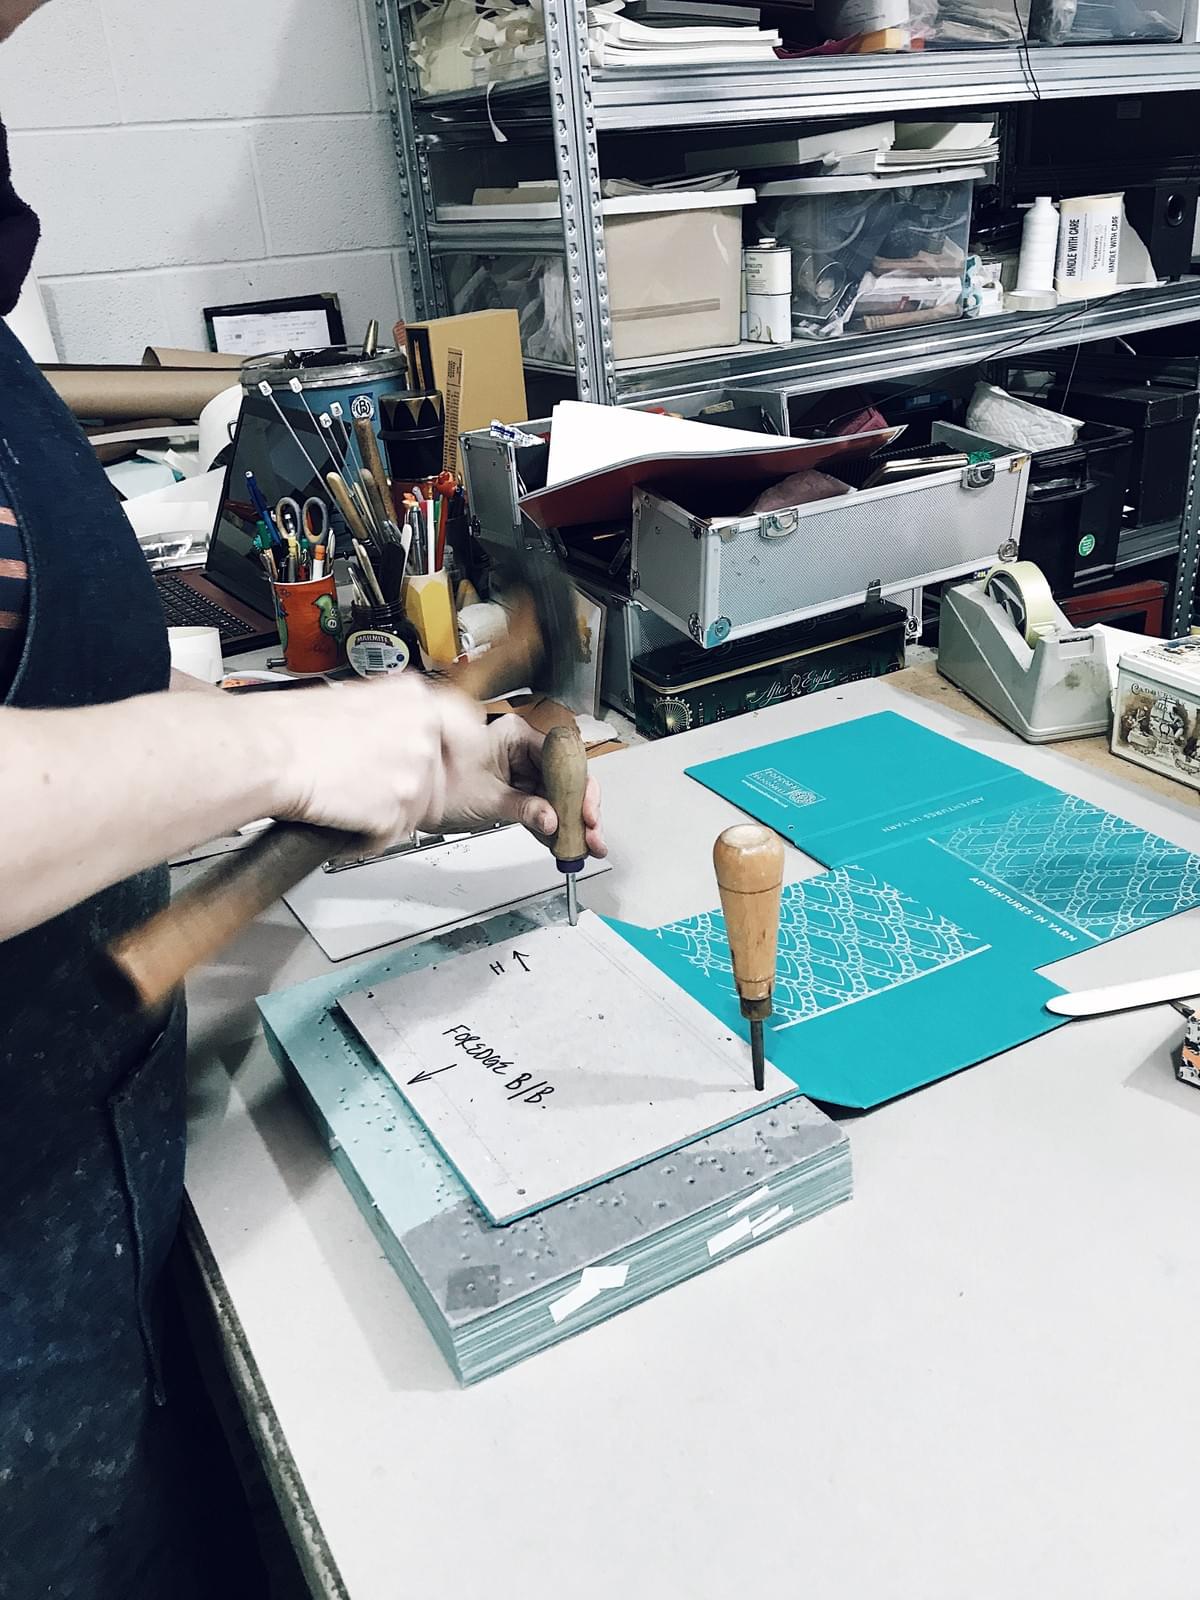
Using a pre-designed bespoke guide, a hammer and awl was used to punch holes through the folder, where the screws for the ring binder mechanism need to fit. Screws were attached and secured and suddenly the folder was ready.
Reflections
I was genuinely surprised quite how much of the creation of the ring binders was carried out by eye, feel and judgement. While some specialist machines were used for very specific parts of the process, even the machines were heavily reliant on the expertise of the people operating them! And I love that such simple materials can be used to create such a bespoke design, in the hands of artists and experts.
This whim of an idea, to create a notebook for yarn enthusiasts, has taken me on quite a journey, and has helped me forge connections with an increasingly diverse range of hugely inspiring makers and crafts people. I was delighted to see the love, care and attention that went into creating every single ring binder. It was such a privilege to have the opportunity to see the journey, from beginning to end, that each item goes through.
Thanks to Rachel and the team at Sycamore Book Binders for hosting me and putting up with my beginners questions and keenness to snap away on my phone camera throughout the visit! And also my dear friend Sarah who I was fortunate to have with me for this visit and introduced me initially after hearing of my difficulties finding the right rung bound solution.
If you have any questions about this creative process, I'd love to hear from you - please do drop me a line.